
Virtual Entities Part 1 - OData v4
Introduction
It's been a while since virtual entities came out, but I don't see that people use them on the regular basis. The big question is WHY?
I can remember when I tried to make a simple OData example just after the release and it was not possible due to various bugs that were present at the time. Now after almost a year, I thought maybe it's the right moment to try them again and go for a deep dive this time.
I plan to split the series into few smaller ones to display multiple data connectors for virtual entities so today it's time for the one that was released first and you all know that it's OData v4 connector.
OData v4 Connector
The first thing we need to make an integration is OData v4 web service that will be a source for our data.
I will use public OData service that can be found on:
https://services.odata.org/V4/OData/OData.svc
It's an official example for OData v4 service made against all OData standards and it has several collections that can be used. The one that will be used in this tutorial is Advertisements collection (others cannot be used with virtual entities).
Adding new Data Source
Now after we have our web service URL ready it's time to add a new data source to the D365 instance.
Data sources can be found at Settings > Administration
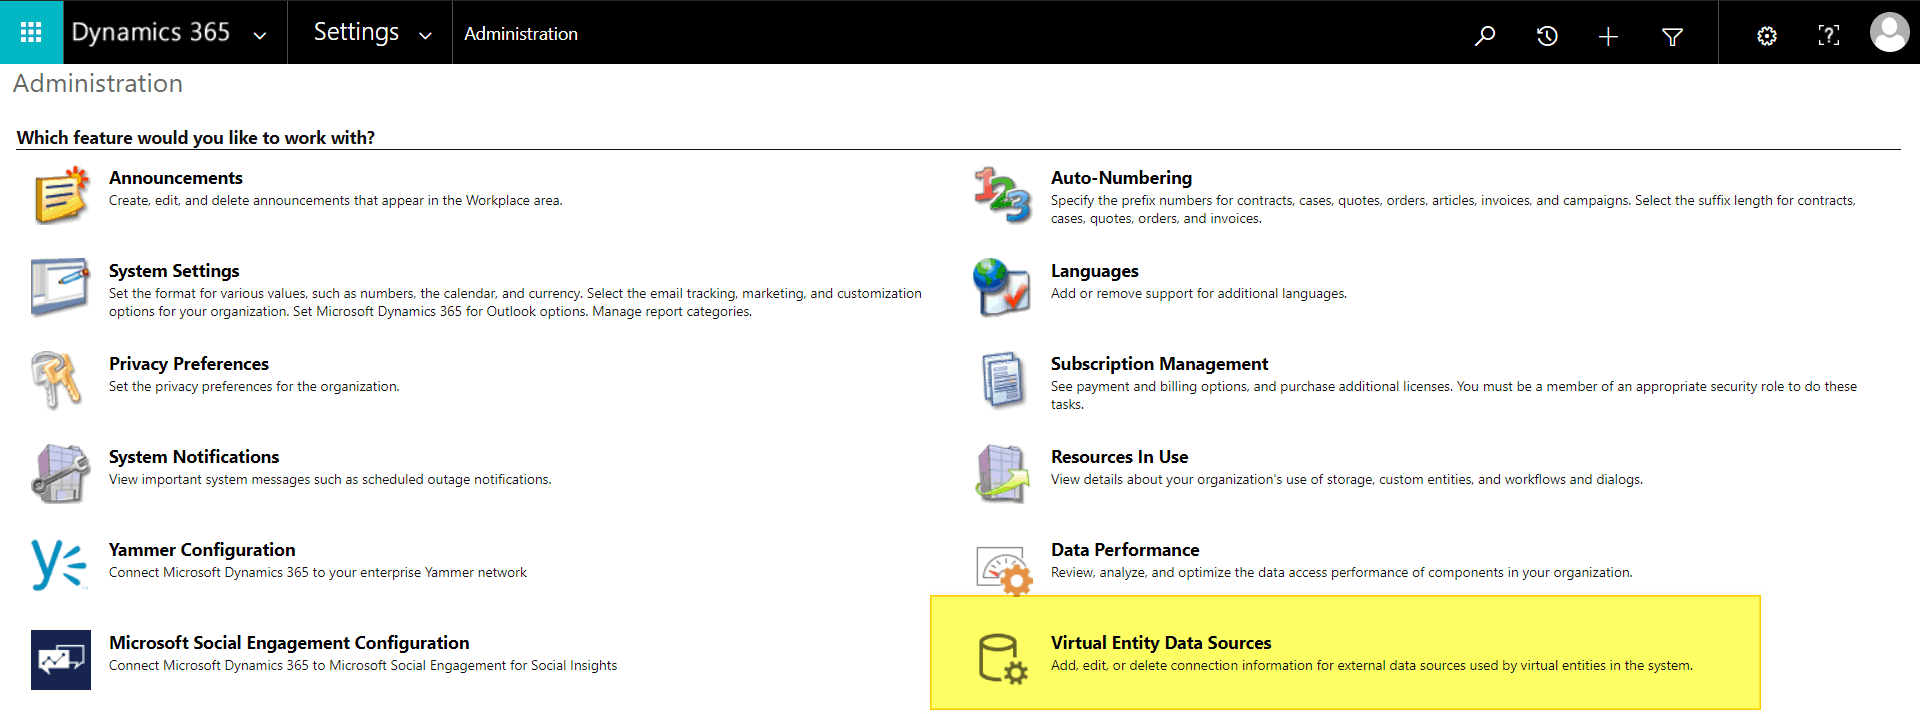
When you open Virtual Entity Data Sources section it's time to add a new Data source.
When you open create window you need to input few parameters:
- Name - random name that will describe your data source
- URL - bade URL of your web service
- Timeout - time in seconds after which D365 will timeout
- Pagination Mode - use client-side if your service doesn't support filtering parameters and if it does set it to server-side
- Return Inline Count - true if your service returns a number of records retrieved (supports $inclinecount parameter), otherwise, you should put false here
Here is the populated form for our example
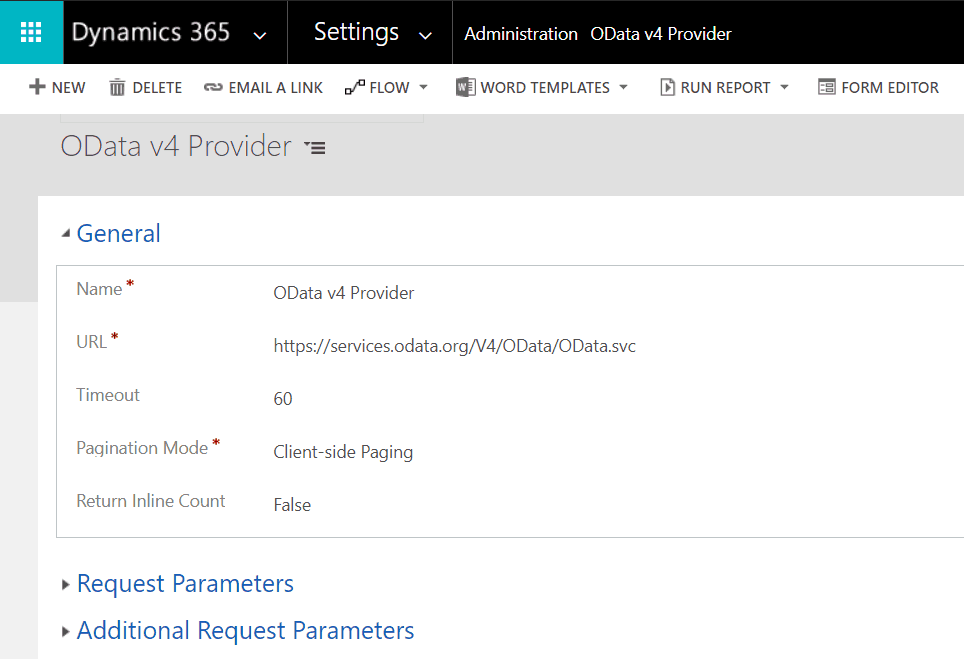
After saving this one we have our data source ready and we are heading to the next part.
Creating a new virtual entity
The virtual entity is created like any other entity, but the magic starts when you tick the Virtual entity checkbox.
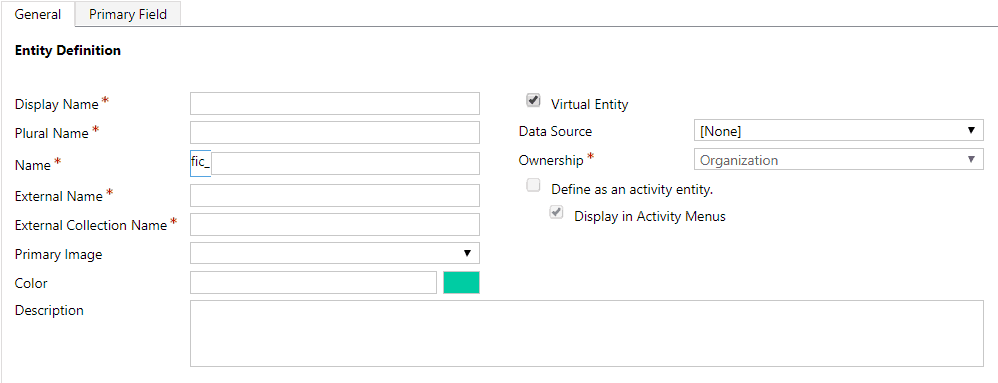
There are 3 new fields that we need to populate after selecting Virtual Entity checkbox. Data Source is more than obvious that we need to select our newly created data source as value there. Other 2 fields are a bit more tricky and can make you freak out if you don't understand the OData structure.
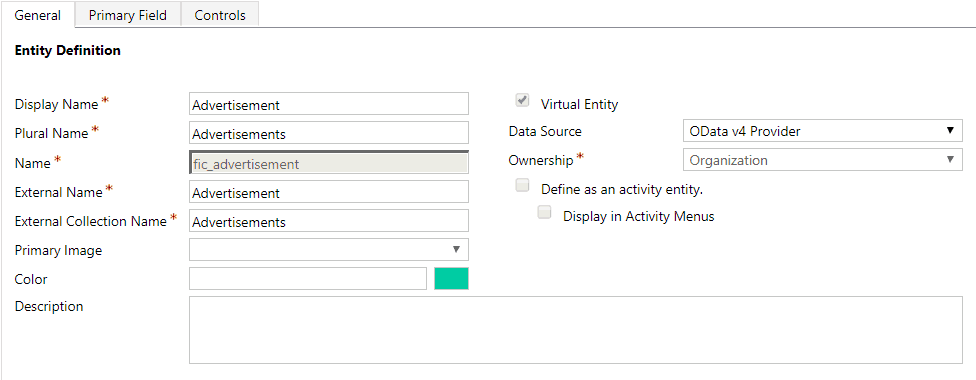
First you need to input an external collection name that will be used while fetching the data for the virtual entity and as we said earlier we will use Advertisements collection. We will use this collection only because it's the only collection that uses GUIDs for record identification numbers and you can't use OData source if your records don't have GUID as a unique ID in output.
The external name field is the one that we need to populate and it can be hard to put the right value field if you don't know where to find it.
You need to check OData metadata for the collection that you will use as Data source. The answer for our case can be found on:
https://services.odata.org/V4/OData/OData.svc/$metadata#Advertisements
The response is quite large XML file, but all we need to find is Entity Type node that has the same parameters as our response that we get when we query Advertisements collection and the one that we need is shown below.
<EntityType Name="Advertisement" HasStream="true">
   <Key>
      <PropertyRef Name="ID" />
   </Key>
   <Property Name="ID" Type="Edm.Guid" Nullable="false" />
   <Property Name="Name" Type="Edm.String" />
   <Property Name="AirDate" Type="Edm.DateTimeOffset" Nullable="false" />
   <NavigationProperty Name="FeaturedProduct" Type="ODataDemo.FeaturedProduct" Partner="Advertisement" />
</EntityType>
Now we have all the parameters that are needed on the general information tab.
Next one up is field setup.
Before we hit save we should switch on the Primary Field tab to set a few more things. It's crucial that you set the primary field right because in virtual entities every single field that is created must be mapped to one of the fields in OData output.
Here you need to take attention on a few things.
First one is External Name parameter that can be found on the same XML snippet we used before and look at the line below:
<Property Name="Name" Type="Edm.String" />
Property Name value is the one that you need to input in External name parameter, but you need to be sure that you type/copy it just the way it's shown in the metadata because the parameter is case sensitive and it will not work if the case doesn't match.
Next parameter is Data Type that can also lead to tons of errors. You need to specify the right data type for the OData parameter. In this example, it's quite easy to select Single Line of Text because you can spot the Type String in XML, but you must be careful with number types because it must match 100%. For example, if there is decimal in XML you can't put whole number type because it will fail when it tries to cast decimal to an integer.
The final thing is Field Requirement parameter that can also lead to errors if not set correctly.
For example, let's assume that XML returned is modified a little bit:
<Property Name="Name" Type="Edm.String" Nullable="false"/>
Now you can see that there is also a Nullable attribute in the property node. That nullable attribute can be translated to our Field Requirement parameter as follows:
- Business Required
- Nullable="false"
- Optional
- Nullable="true" OR Nullable attribute at all
In the end, primary field configuration should look like one on the image below.

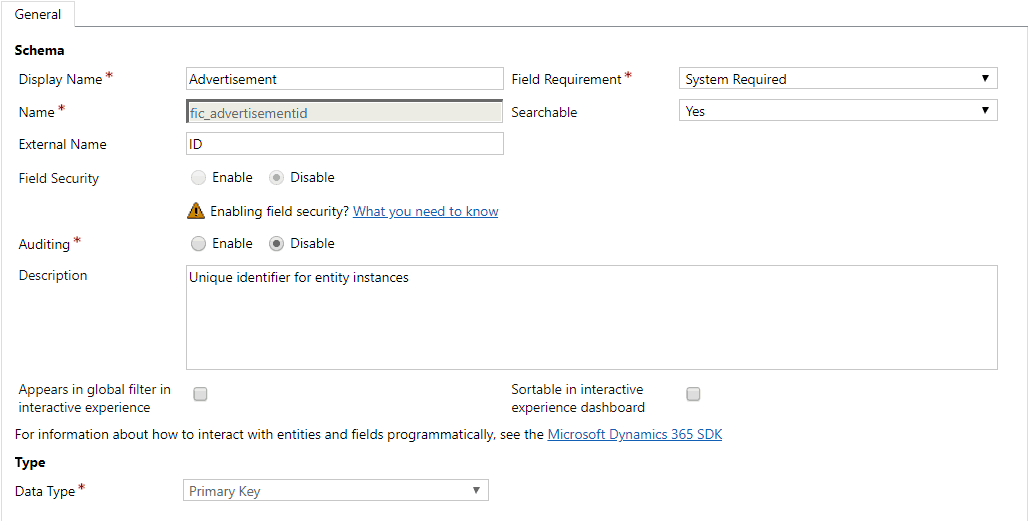
When you are done with adding the fields that you want like we did on the previous example there is only one thing to do and that is setting External Name on the Virtual Entity Id field.
The ID field is defined in the XML line below.
<Property Name="ID" Type="Edm.Guid" Nullable="false" />
Property Name has uppercase value ID which must be typed in the External Name in the entity GUID field in the fields configuration and it should look like on the image below.
Finally, your virtual entity is ready to use. You should just add all the fields you want on the form and views and you are ready to go.
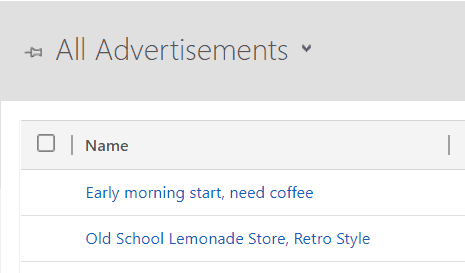
After the fields are added to the view you can try to open the newly created entity form the ribbon to open the record list.
If everything is configured right you should see the list of records as shown below.
Tip & Tricks
The most common error that you can face when configuring virtual entities is:
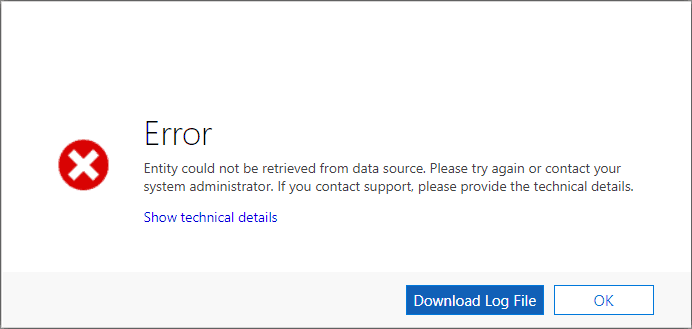
Lately, Microsoft added a Download Log File button, but in the past versions, it was not possible to download the log file for errors like this one.
If you are the lucky one that doesn't have a log button in the popup there is a solution hidden in plugin trace log.
Plugin trace log must be enabled if you want to get the error. If you don't have it enabled you can enable it in Settings -> Administration -> System Settings.
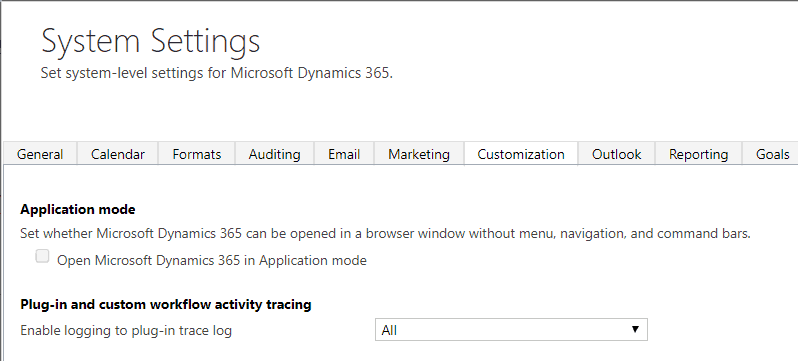
Enabling is done by setting "Enable logging to plug-in trace log" to All or Exception Only.
After you activated plug-in trace log you can reproduce the error and check out what is happening in Settings -> Plug-In Trace Log.
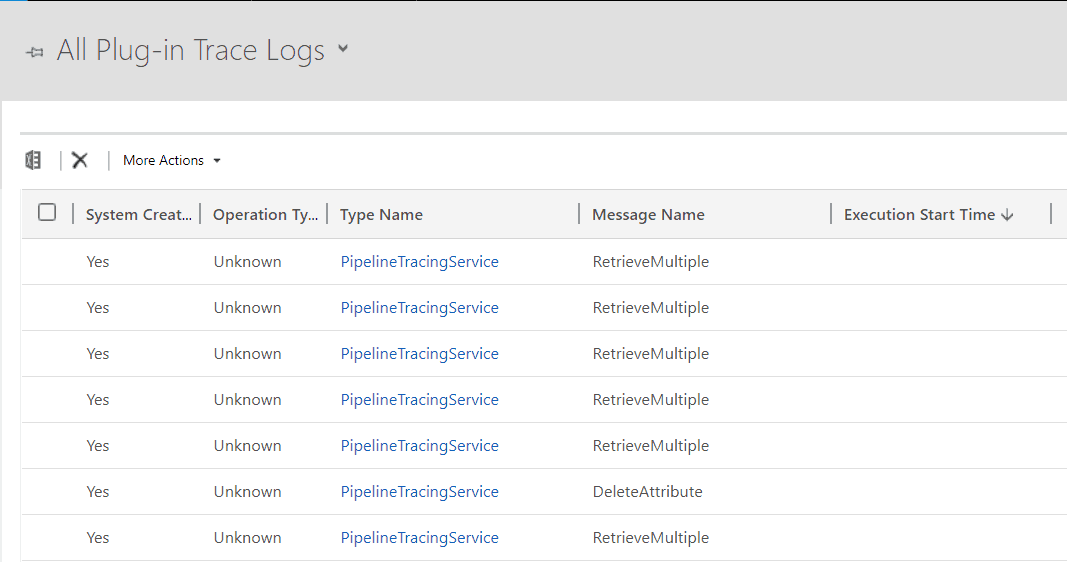
When you open individual record you can find out details about the error in Exception Details field.
Conclusion
I hope that I managed to help you to create your first virtual entity with OData v4 data source.
Series will continue in few days with connecting virtual entities with Cosmos DB which is quite a new feature, but it's not that complex to achieve it.